Posted on

Stop Giving Condolences on Revisions

A woman with brown and blonde hair smirks at the camera.

Though the novel has now moved onto the Editor’s Desk, I couldn’t believe what I was hearing from my fellow authors when I had told them I was in revisions for The Assassin’s Saint under my pen name V.C. Willis. It confused me. I was met with many “I’m so sorry” and “Oof! That’s rough” instead of the expected response of excitement that I felt. Feeling something had to be said, I took to social media and posted my thoughts and reactions to this whilst giving some proper advice, and support for those of you who feel condolences are needed.

Revisions VS Self-Editing

Editing is the final step before it hits the actual editor’s desk. Trust me, it’s impossible to see everything without a second pair of eyes. Revisions however is what happens between emptying the initial draft (rough and/or first draft) onto the notebook or word document. What follows is the tribulation and excitement that seems to either haunt most writers, or worse, send them into a spiraling black hole of grief that is on par with someone dying.

It’s ok. I can easily see why that happens. You would think after painstakingly prying the story from the depths of your mind and imagination, that you would be able to move on, but you can’t. In this way, yea, condolences may feel very on point. Moving on when you suddenly lose someone is very similar to the sensation of: 

“I finished, but I’m not, and I just want to move on to the next story but can’t because [insert muppets hands waving about] emotional distress is still happening with this story!”

Just remember this is not the time to be the grammar king/queen nor aim to polish your work. I know, that feels … wrong … but I assure you, this will make sense in the next few paragraphs!

It’s Not a One-and-Done Process

First mistake I am noticing is that many authors are thinking or forcing the concept that a revision is a one-and-done process. No. Please don’t do this to yourself. Revision is like combing tangles out of a wily little girl’s hair. Prepare for a long process that may even threaten to time spent getting that draft written. You will be combing through this one section or focal point at a time, and you might have to call for help or research or gather additional tools. I know, that sounds frightening, and it shouldn’t. 

This is meant for you to take the time to decide on several factors. Now that you can see all of your story, the first sweeps of the comb should be checking that writing style or voice you developed at the end of the draft. For example, your first few sweeps should do the following:

  1. Go back, make that voice stronger and more consistent from start to finish based on the voice and writing style created by the end of the draft. Make that prose pretty! With everything in place, you can take the time now to adjust the way you are telling the story to really bring out strong prose or create some where none resided.
  2. Make sure what crazy-sauce that was in your head really did make it on the page for the reader. I can’t tell you how often we are unaware we left vital information unwritten because “I knew it off the top of my head” thanks to yammering from imaginary friends.
  3. Summarized paragraphs that may be best as fleshed out scenes and chapter(s). This is probably the most important thing to be doing in those first several comb throughs. I know this is one of my biggest issues that comes up time and time again. Honestly, after recently revising The Assassin’s Saint I realized how much stronger my writing has gotten and that it’s nice to first empty the story out, see what writing style/voice I have, then flesh out these moments more accurately. Who cares I had to have six new chapters between Chapter 2 and 3! The story benefited from the readers experiencing things and I didn’t struggle to write it now that I know what’s happening!

How to Break It Down

Now, how do you get the revision ready for self-edits and eventually the editor’s desk at the very least. BREAK IT DOWN. We are now on the rounds of revisions that tighten our craft. We’ve expanded, deleted, and strengthened the bones and added the muscles. These comb-throughs are intended to build up the muscles, put the skin on the beast we’ve written. Maybe even add some tattoos or piercings. Whatever you want, it’s your story. Here’s some ways I like to polish off revisions before diving into grammar and commas and things I am not so strong at mastering.

  1. Foreshadowing – I talk a lot about foreshadowing and this is a great focal point for a revision round. Now that the plot is clear, there’s plenty of hints and winks you can add in to really build the reader’s immersion and anticipation.
  2. Dialogue – This can be very telling. Some authors go as far as only reading the dialogue to see if they can still grasp what is happening in the story from that much. It’s a great way to check for meaningful and story-provoking dialogue content.
  3. Character – Pick your main character, secondary, love interest, or villain and start a comb through only paying special attention to their actions, dialogue, and narrative meant for them. It’s amazing how often this simple routine has helped me catch holes even in my plot! Try it out!
  4. Story Beats or Plot Points – Make sure you got it all in there and that the order of events makes sense. Sometimes recapping these can let you know if you’re missing something or need to adjust the story in some way. In fact, I realized between this and character revision I was missing an entire subplot and had to write that into the story. These comb-throughs aren’t always an easy fix, but they are often necessary.
  5. Narrative and Setting – Much like the dialogue check, start reviewing just this section of the story. Are you establishing a change of room, scene, and location? Does the narrative support what is unfolding, match the emotions of what is happening while instilling that tone into your readers? Are you leading the reader into the scene and to the next scene with strong enough transitions? These are all important factors that should be one of the many rounds of revisions you perform.
  6. Reader Immersion VS Character State – This is one I do, and I don’t know how many authors really dig their fingers into this. It’s not something I see written or talked about often but I fret frequently over this concept. My last few rounds are often making sure that the emotional states of my characters and readers are where I want them to be chapter by chapter. I find myself tweaking the length of sentences, changing out word choice, and even adding/deleting anything that might damage/improve the pacing. Delivery of those tense moments mean everything in my own work where broody, angsty characters roam and dark fantasy vibes tend to prove PTSD worthy. Ask yourself often if you feel what was written invokes the emotional state the reader should have before the next chapter, and if not, time to massage content.

Repeat after me:

“I am not grieving! 
No one has died (besides [insert character(s) names here])! 
I don’t need condolences and certainly shouldn’t be giving them!
Revision rounds are where my prose turns pretty!”

Good! Do you feel better? It’s not a race, it’s revisions. You will have to comb these tangles out a few times before it’s ready for you to work grammar magic. That’s ok. Take it one step at a time, break it down, and watch how strong your story becomes.

Discover More

Like the advice and information you see here? Follow me on social media where I often post videos talking about and discussing my own tribulations as well as encouraging others to excel. From advice about writing, book design, to insight on my own work and creations that may prove inspiring. Stay connected here at WillisAuthor.com OR https://linktr.ee/WillisAuthor

Posted on

How to Use Your Manuscript to Guide the Book Formatter

It can’t be said enough times of how important it is as a writer and author, to be aware of how you are using your craft. Every space, placement, and the overall format you give your manuscript can impact how the editor, formatter, and reader interact and perceive the content on the page. As with anything else, consistency is key and being aware of what you can do to strengthen your formatting to carry through to the book formatter for optimal results in the overall print design. Here’s some great tips that can be huge game changers in your writing, editing, and publishing. Let’s take a look at what matters the most when formatting your manuscript to hand to editors and formatters alike.

Margins and Page Size

Stick with standard 8.5 x 11 or Letter sized pages. Don’t try to shrink the page size or mimic the print size of the book. Instead, focus on standardizing this so it’s easier to see any key changes in the overall content. On that same note, normal margins or 1 inch margins on all sides are just uniform for preparing a document. Leave book trim or size and the math for proper margins to the book formatter so that the print house has to correct parameters.

Line Spacing and Font Choices

Double spacing a manuscript is pretty well known whether it’s a class essay to a manuscript for a literary agent. The reason for this is that they can print and have space to leave marks and corrective notes. Same goes for most editors where this is also standard. As for the formatter, they will be basing line spacing on the font choice since these all have different natural spacing.

Fonts should be standard or common choices such as New Times Roman or Times, Arial, Garamond, Helvetica, and similar. Courier, Comic Sans, Papyrus, and other fonts should be avoided in case there are special letterings or accented characters that could be lost completely when importing into other programs for book formatting. These are also common fonts for eBook readers and are a great way to make sure the content you are writing is completely compatible for ebook devices and formats. 

Double Return versus Line Break

Be sure to either make a paragraph style that adds a space after or utilize a double return between flashbacks and similar slight content changes. As for a line break or scene change within a chapter, pick a means of communicating this by adding a line with asterisks (***) or hashtags (#). This should be consistent so that a simple find and replace can be done to identify where line break artwork or ornaments will go in the book design. 

Never hold SHIFT+ENTER since this creates a manual line break, not a hard return. These can cause weird spacing and awkward forced breaks in the middle of content, sentences, and more. Most designers may clean them out as they see them, while others simply assume they are intended to be there. 

Don’t force things to land on the next page unless it’s intended to do so like a new chapter start. You can even set the heading style or chapter header style to page break before or start on the next page. These make life easier as you start to write and prep your manuscript for editors and formatters. If you do need a manual page break, you can use the insert break options or use CTRL+NUMPAD ENTER to create one. Never use multiple hard returns to force content to the next page as it can cause confusion when the content is placed within the book trim and layout. 

Styles and Headers

Many word processors now have means of labeling paragraph styles, styles, or heading styles to content. Use them! These not only add vital programming, but makes it much easier for your formatter to understand the hierarchy of the content without guessing or making an attempt to read the content. Be mindful of how you are labeling chapters and subheads with these styles to make sure they will be designed with the same intent in the print version. 

You can also use styles or make custom styles to identify quotes, pull quotes, letters, references, and similar aspects. Be sure to make the formatter aware to expect these extra components. Using one or more character styles should help make these stand out via formatting choices such as italics, bold, or underline. Combine these with paragraph justification for further visual impact such as indent left, indent right, space before, space after, and center alignment.

Using style and heading systems can help you see your sections in navigation panes as you write and make it easier to jump to sections you want to work on or edit. It also utilizes and opens up doors for automation for ebook creation or even utilizing the Create a Table of Contents options so you can make sure you have assigned and layered your styles in the intended way. Most formatters will utilize TOC systems in their programs in the same manner, but with a wider range of styling and formatting options.

Tabs versus Indents

If you are utilizing styles for even the Normal or Body text, setting these paragraph styles to have a First Line Indent of 0.25 inches is pretty standard for a manuscript with no space after or before the paragraph. You can make a “no indent” variety which is often applied to the first paragraph of a chapter start, after a line break, after a subheading, or similar divided space designed to show a jump in content or major change.

Tabs can be a great way to make a chart in your content without having to insert a spreadsheet. Many folks have been taught to use the tab key to add their first line indent. It is highly recommended to utilize the paragraph style settings for this since this is becoming more of a tool for spreadsheet programming and can cause some weird results when multiple tabs have been used. If you need something aligned to the left, then use the paragraph alignment menu to do so. There should be a ruler and tab system to customize those settings for each tab dropped. Most of the new word processors, if fully updated, now convert a single tab to paragraph style. In short, it’s one less keystroke and thing to worry about as you work on your manuscript.

Track Changes and Comments

Track changes are a great tool for you and your editor, but if left in place when a manuscript is sent to a formatter it can cause weird import issues that include content going missing in places, words broken apart, and stopping the placement or import system short of completing its task. Even more so, it inserts hidden programming in the XML coding that can bug out ebooks unbeknownst to author and designer in most cases.

Avoid this by clearing all comments out and accepting all track changes. There should be none left open or active, and all deleted before sending the file to the formatter or designer. If you wish to provide a copy with comments that identify formatting remarks, it should be sent as a guide copy or remind the formatter they were left as indication for them (and they should be able to delete them out). Granted, these apply mainly to Word and Google documents in particular.

On occasion with Word documents, “Content Panel” of altered content shows up. Whether this is caused by opening the document in third party applications or converting from one program to another, I can’t say, but these can bug out importing the content for a formatter. In Word, identify one such section, select all (so it highlights the whole document for other instances), and use the left click to open the Content Panel options and Delete!

Check Your Hidden Characters

Not sure about the returns, the tabs, or the accidental line breaks? No problem. Most programs have a Paragraph Icon that toggles between show or hide “Hidden Characters” that looks like a backwards P. Sometimes these are also labeled non-printing characters and these options are commonly found in the view section of programs. If you have tabs or manual line breaks, they are often shown as arrow type symbols unlike the common dot for a space or backwards P for a hard return. 

File Formats to Use

Lastly, most design programs utilize Word Documents (DOC, DOCX) for the sheer reason that much like eBooks, these files are written in XML and are easily convertible. Most programs, including Google Docs and Apple Pages have the option to EXPORT or SAVE AS – Filetype dropdown, to select this option. If you are unsure of the default save format front eh program you are writing in or don’t have this option, there is a solution! SAVE AS RTF RICH TEXT FORMAT. This is an older text file that is tried-and-true to what it does. The underbelly programming stripes XML coding to the basics and should maintain your character and paragraph styles just fine. In fact, it’s not uncommon for designers who have import failures on submitted files to convert them to RTF and import them with no issue afterwards.

Discover More

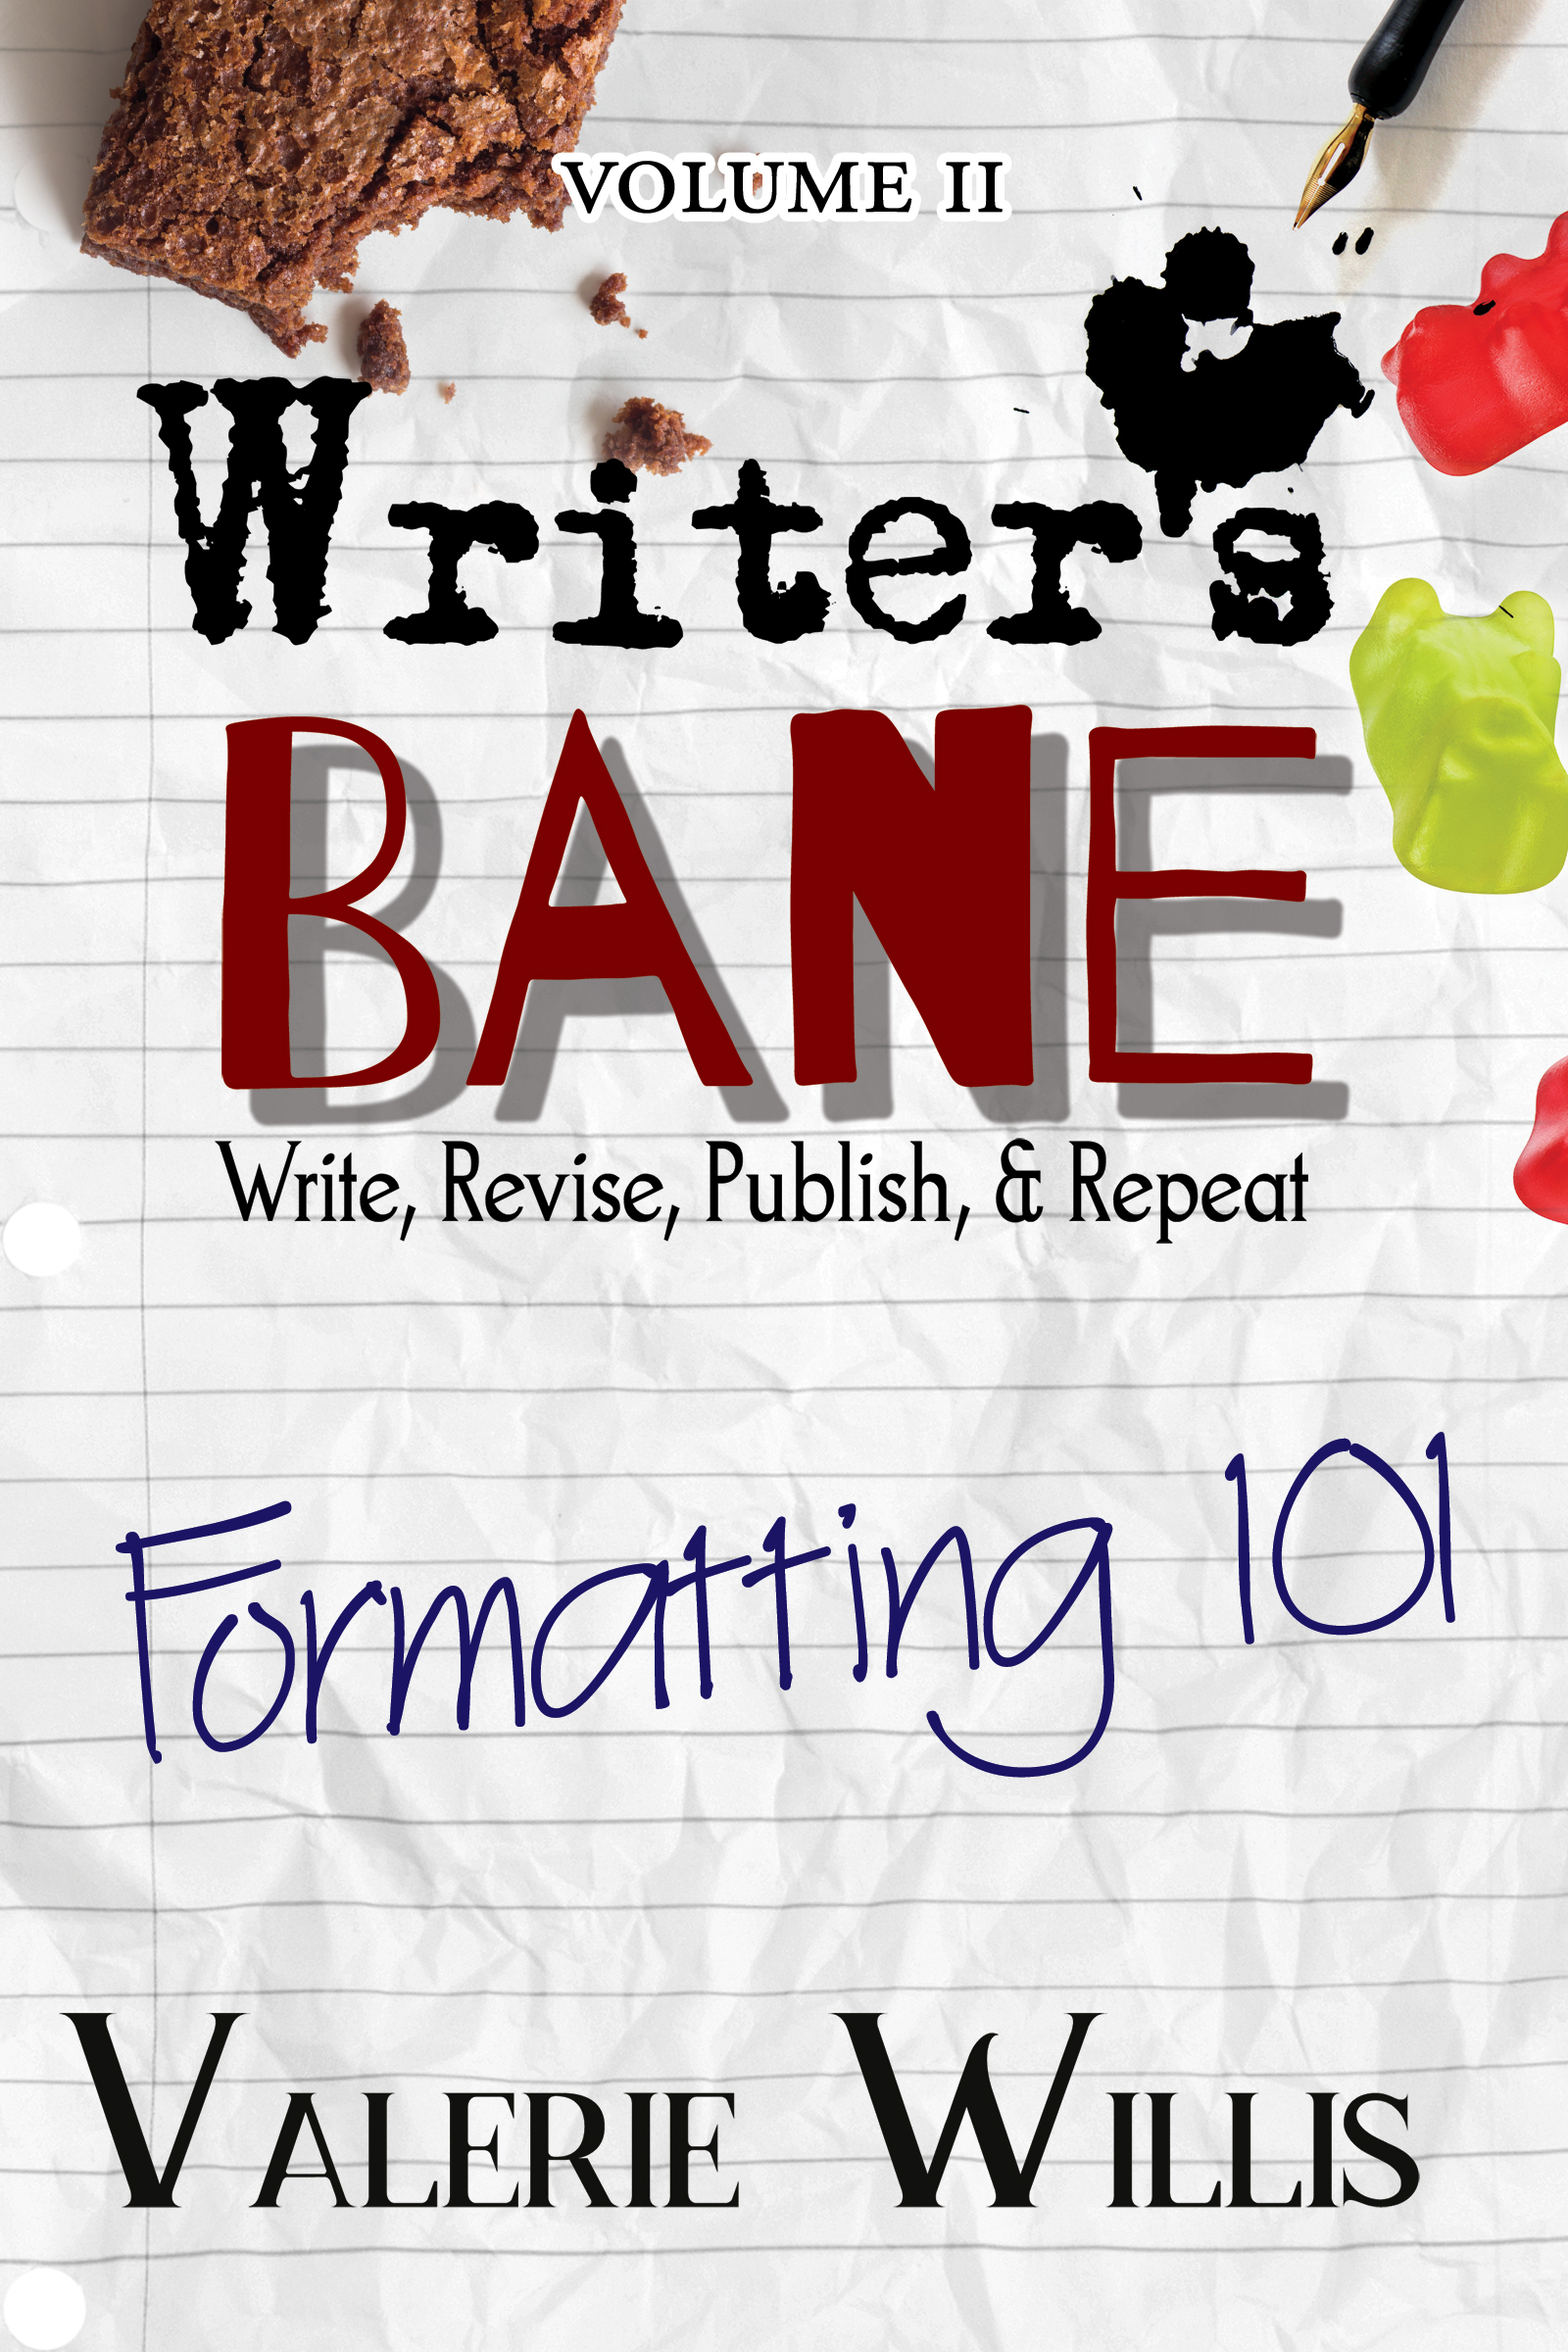
If you haven’t discovered Writer’s Bane: Formatting 101, you’ve been missing out on a lot of answers to questions and even a stronger understanding of how impactful formatting is on a book. This includes what goes inside your book, how to prepare a manuscript for a typeset, and how to design the interior of your book. 

Like the advice and information you see here? 
Check out the Formatting 101 textbook here at: https://4horsemenpublications.com/product/writers-bane-formatting-101/ . This book holds a variety of answers for those seeking to become typesetters, looking to self-publish their book, or simply want to learn how to communicate and prepare their manuscripts to get the most out of their designers. The Writer’s Bane is a curse and passion, both a want and need to tell a story. In this volume, you will learn the importance of preparing a book for layout as well as laying it out in a way that appeals to your readers of any genre including picture books, chapter books, fiction, memoirs, textbooks, workbooks, and everything in-between.

Posted on

Series Catch Up: Traibon Family Saga

Do you love to dive into an amazing series?

We have the ultimate MM, High-Fantasy, Romance series for you: 

There are 3 books so far in this series.

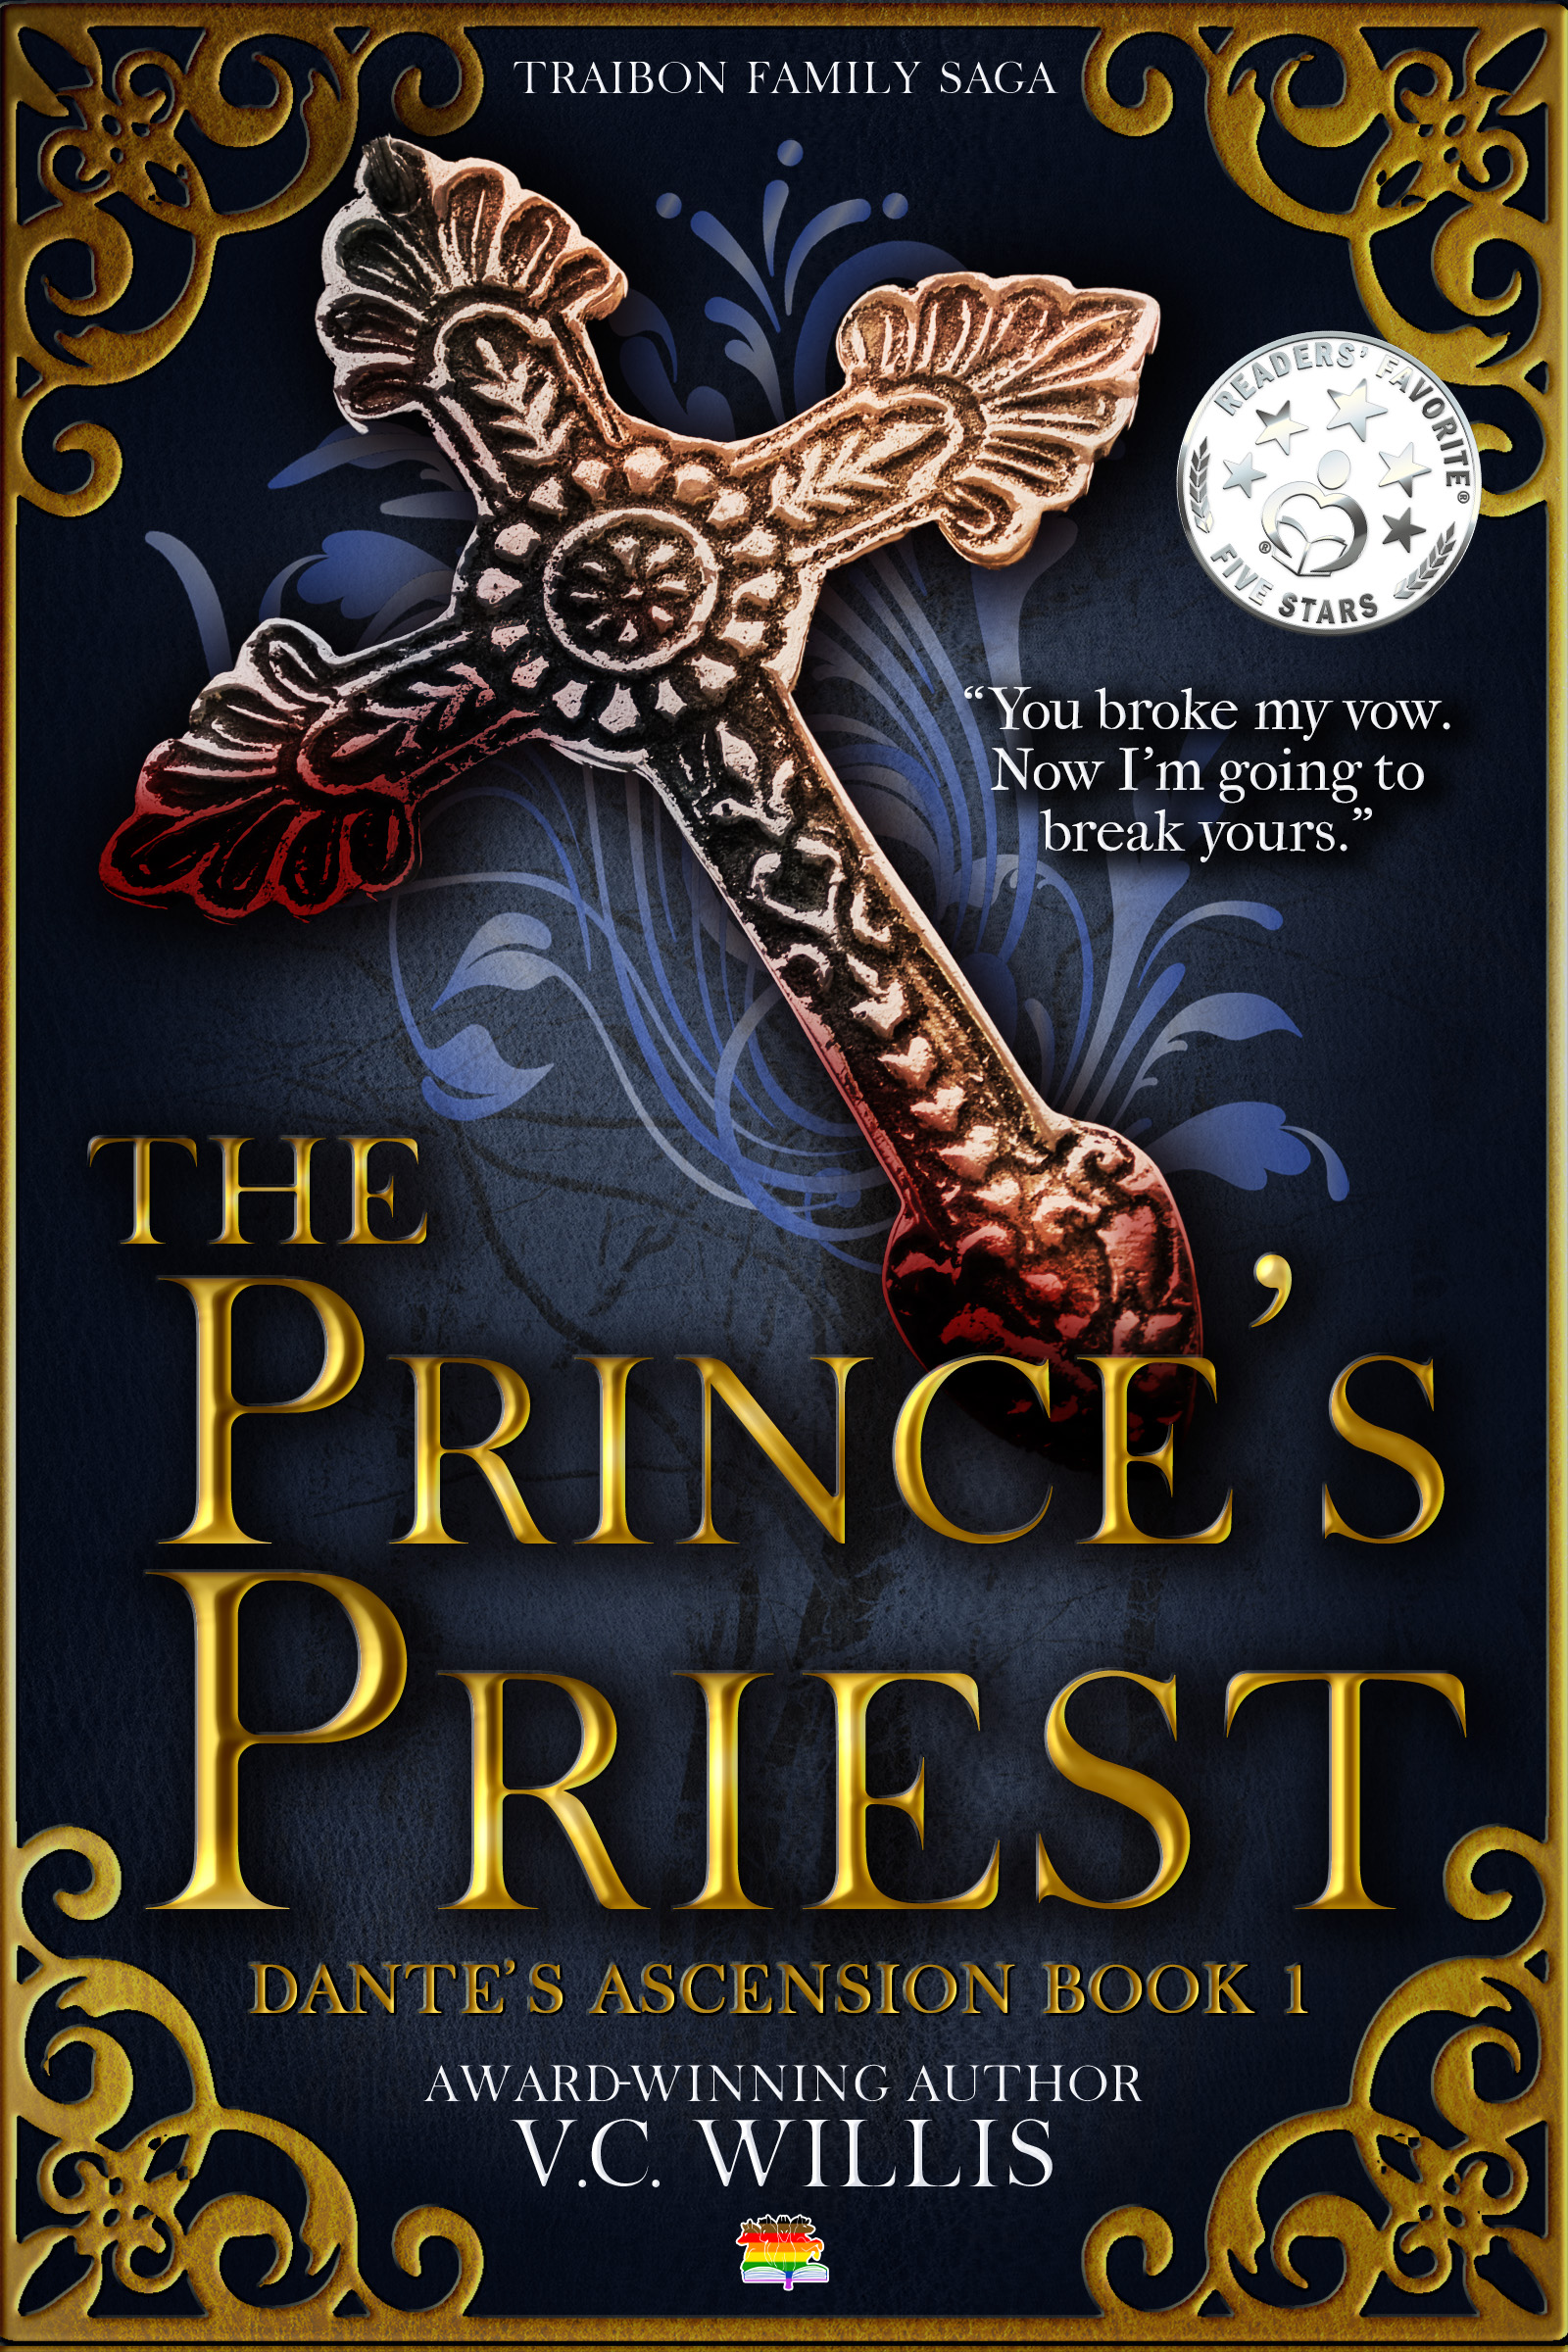
Check out book one The Prince’s Priest here:

A prince with a legacy of blood, a simple priest, an unstoppable romance in a world on the brink of civil war.

Dante, the Prince of Bloodeaters is in love with a human priest. Ten years ago, he threw his life to the wind in an effort to bring about change while escaping a fate he no longer wanted to face. One wintry night meeting John gave him a new purpose and drive as he joins him to live on a farm in the middle of nowhere. Lessons and promises made will lead Dante’s internal struggles to places he didn’t know he still had to face even now.

Viceroy Falco, Dante’s ex-lover and overseer of Glensdale and capitol city to The House, wants an army of bloodeaters at his command. Conspiracies are whispered about his involvement in the prince’s disappearance and the ailing king on the throne. Dante aims to stand in his way at every turn, but jealous and lust drive Falco to wanting more than just the magical dagger called The Fanged Lady. Though, there’s a cost as the Viceroy’s past abuse spurs Dante to action when his aim turns to Father John.

When Father John takes over the Glensdale church, he becomes a target for Falco’s sadistic games. John is stubborn and bullheaded, unwilling to bend or retreat. Angry with Dante’s decision to be his sword and shield with bruises and a bloodied lip to match. Aiming to find a solution for himself, Father John throw caution to the wind even if the cross branded on his back may lead to his death.

Dante is willing to sacrifice everything to keep Father John safe, and will he have to accept his position as Prince when the King falls ill?

This book is a great jump on a refreshing male male romance with fantasy elements. Swords, knights, vampires, plague, moody steeds, and more add to the center romance of two broody men madly in love with one another. Readers who enjoyed the chemistry and romance of The Captive Prince Trilogy by CS Pacat as well as the broody, vampire vibes from JR Ward’s The Black Dagger Brotherhood will enjoy reading this sizzling spin on vampire romances.

We invite you to share your favorite quotes and moments with #TeamJohn or #TeamDante or #TeamJonte!

You can order this book  in all formats directly from our 4HP Website and receive 10% OFF using coupon code 4HP10!