Posted on

Crafting Authentic Villains: The Heart of Compelling Conflict

Creating authentic villains is an art that breathes life into narratives, infuses tension, and drives stories forward. Villains, often the shadowy figures lurking in the periphery, can be as complex and multifaceted as protagonists. They should not merely serve as obstacles but as catalysts for growth and change, both for the story and its characters. Here, we delve into the intricacies of crafting authentic villains that captivate readers and elevate your storytelling.

Understanding the Villain’s Role

At the core of any memorable villain is their role in the narrative. A well-crafted villain is not just an antagonist but a character whose actions and motivations are integral to the story’s progression. They must challenge the protagonist in ways that force them to evolve. To achieve this, consider the following:

  1. Purpose and Motivation: Every villain needs a clear, compelling reason for their actions. This motivation should be rooted in their backstory, beliefs, and desires. Whether it’s revenge, ambition, or a misguided sense of justice, understanding why your villain does what they do makes them more relatable and less of a caricature.
  2. Conflict and Stakes: A villain’s actions should raise the stakes and create significant conflict. Their presence should disrupt the status quo and compel the protagonist to confront their deepest fears and flaws. This conflict drives the narrative and keeps readers invested.

Developing the Villain’s Backstory

An authentic villain is often a product of their past. A detailed backstory provides insight into their psyche and helps explain their motivations and actions. Consider these elements when crafting your villain’s history:

  1. Origins and Upbringing: Reflect on the villain’s early life. What events or experiences shaped their worldview? Traumatic events, familial influences, or societal pressures can all contribute to their current behavior.
  2. Turning Point: Identify a pivotal moment that set the villain on their path. This could be a betrayal, loss, or revelation that fundamentally altered their outlook on life and spurred them towards villainy.
  3. Complex Relationships: Explore the relationships that matter to your villain. Allies, mentors, and rivals can all play crucial roles in their development. These relationships add depth and can create intriguing subplots and dynamics.

Humanizing the Villain

To make a villain truly compelling, they need to be humanized. Readers should be able to see aspects of themselves or people they know in the villain. This does not mean justifying their actions, but providing a window into their humanity:

  1. Flaws and Vulnerabilities: No one is entirely evil or good. Give your villain weaknesses, fears, and insecurities. These elements make them more relatable and believable. A villain who struggles with self-doubt or who has moments of kindness can be particularly compelling.
  2. Sympathetic Traits: Introduce traits that evoke empathy. Perhaps the villain has a code of honor, shows kindness to certain individuals, or has a dream that, while misguided, is understandable. These traits can create a complex emotional response in readers.
  3. Internal Conflict: Show the villain grappling with their choices. Internal conflict adds layers to their character and can lead to unexpected moments of vulnerability or hesitation. This can make the villain more unpredictable and engaging.

Crafting Memorable Encounters

The interactions between your villain and other characters, especially the protagonist, are pivotal. These encounters should be charged with tension and reveal different facets of the villain’s personality:

  1. Dialogue: Use dialogue to reveal the villain’s intellect, wit, and philosophy. Sharp, memorable exchanges can make confrontations more impactful and highlight the ideological differences between the villain and protagonist.
  2. Actions and Decisions: The villain’s actions should consistently reflect their core motivations and personality. These actions should be significant and impactful, driving the plot forward and forcing the protagonist into difficult decisions.
  3. Symbolism and Imagery: Utilize symbolism and imagery to reinforce the villain’s presence and influence. Recurring motifs, colors, or settings associated with the villain can create a lasting impression and add to their mystique.

Avoiding Common Pitfalls

Creating an authentic villain involves avoiding clichés and ensuring your villain is as well-rounded as any other character. Here are some common pitfalls to avoid:

  1. One-Dimensional Evil: Avoid making your villain evil for the sake of being evil. Depth and complexity are crucial. Provide clear reasons for their actions and show their humanity.
  2. Over-the-Top Monologues: While dialogue is important, avoid clichéd villain monologues. Instead, focus on meaningful exchanges that reveal character and advance the plot.
  3. Lack of Agency: Ensure your villain is proactive rather than reactive. They should have clear goals and take decisive actions to achieve them. A passive villain is less compelling and poses less of a threat.

Dive Deeper into Character Building

Crafting an authentic villain is a delicate balance of complexity, relatability, and menace. By understanding their role, developing a rich backstory, humanizing their character, creating memorable encounters, and avoiding common pitfalls, you can create villains that not only enhance your narrative but also leave a lasting impact on your readers. An authentic villain is more than just an obstacle; they are a force that shapes the story and challenges the protagonist to their core. 

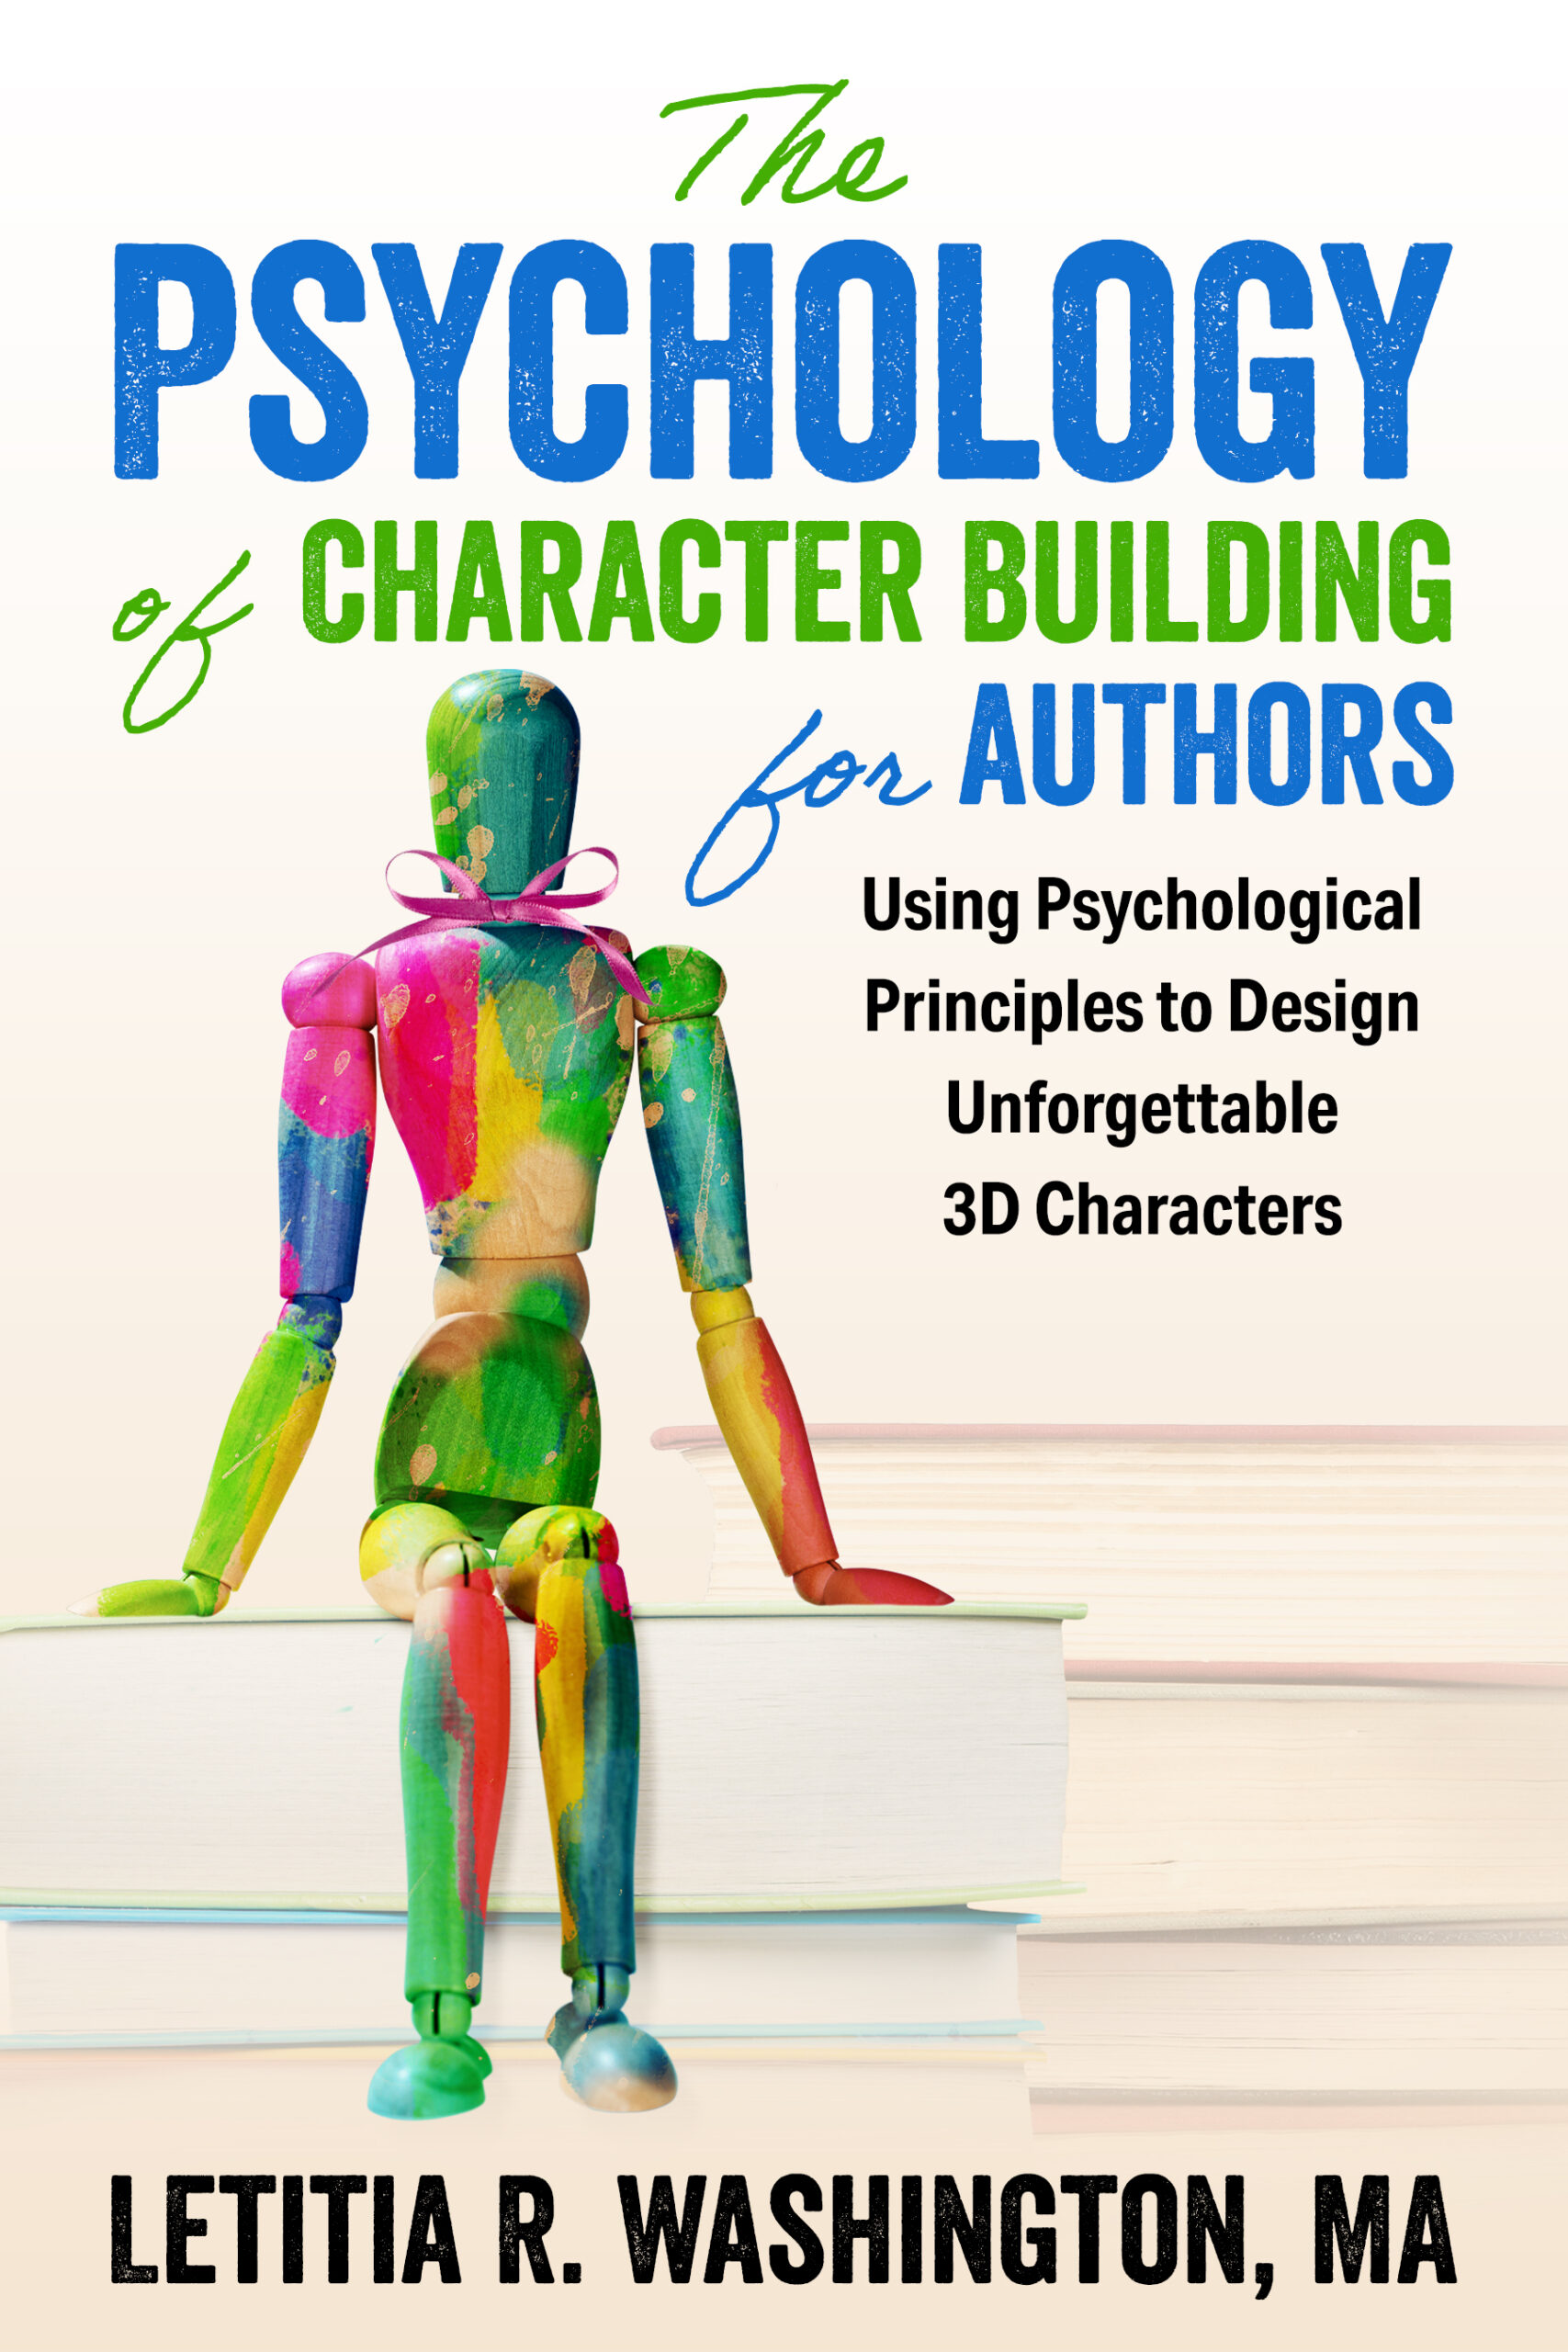
If you’re eager to explore more about crafting authentic villains and other complex characters, I highly recommend checking out my book, The Psychology of Character Building for Authors. This comprehensive guide delves into the psychological underpinnings of character development, providing invaluable insights and practical techniques to help you create multifaceted characters that resonate with readers. Whether you’re a seasoned writer or just starting out, this resource will enhance your ability to craft memorable and authentic characters.

Happy writing!

Posted on

From the Author’s Desk: Worldbuilding 101: Mythmaking

One thing to consider when creating the world for your story is the stories the people in your world tell one another about creation. How did your world come to be? What do the people in your world commonly believe about the beginning of it all? Generally, this kind of worldbuilding can be divided into two categories: the truth about creation and the myths about creation. Let’s start with the first part–what actually happened?

To start developing the truth of your world, consider the following questions:

How did your world come into being? Was it formed out of the Void, the result of some cosmic Boom, the plaything of a godlike being? Tolkien’s Middle Earth began as a song of the Ainur, a vision in music that the Valar had to then build based on their understanding and memories of that experience. 

Is there just one world/planet? Is it a free-floating ball in space or a disc with an edge that people can fall off? Terry Pratchett’s Discworld is literally a disc on top of four elephants on top of a turtle that swims through space.

Is the world part of a larger galaxy/universe? Is there a larger cosmos with other solar systems in the galaxy or just the lone world floating in the void by itself? Think about the night sky your inhabitants would see—are those lights in the sky other stars or something else (Shrek’s ogre ancestors, for instance)?

What does the rest of the galaxy/universe look like? Solar systems with planets and suns or black holes or dwarf stars? Titan AE explores a universe where the earth is a tiny piece of a huge tapestry of galaxies.

How big is the universe? Are other worlds nearby or far away? Can people see it or travel to it? How is this done? Get a general sense—if light speed is 186, 282.397 miles per second, how far away is everything from everything else? For example, the sun is 91.4 million miles from Earth while the moon is only 238,900 miles away.

For the people in your world, are there visible stars in the sky? Other planets that can be seen? Do people create constellations from the patterns? What meaning is attributed to these lights in the sky? Is astrology a thing in your world?

Has anyone seen the planet from beyond the surface? Do people travel to space to get that perspective, or do they think the world is flat or ends beyond the mountain range in the distance?

Has the world always looked like this or has it changed over time? Was there an age of dinosaurs and prehistoric plant life or a world covered in oceans, or has it always been as it is now? (This relates to the “how old is your world” question too!).

If it has changed, why? What happened to make it look different? Was this change a result of some natural catastrophe (meteor strike, volcano eruption, ice age, etc.) or the result of the people who live in the world? What did the people do that caused such dramatic shifts in the world? Even earth has had some dramatic environmental shifts over time (*cough* dinosaurs *cough*).

How old is the world? Does the world have an expiration date—like will the sun explode at some point or the gravitational pull let it drift away into the void, or will the world always be there?

If your world is loosely based on the real world, how is it different from the known universe? What world-features are your characters familiar with that readers will recognize? What distinct world-features have you added to distinguish your world from the real one? Do things in the universe have the same name that the scientific community uses (Big Bang, quarks, Jupiter, Io, etc.)?

Bonus Question for Earth-Variants: Is Pluto a planet or a planetoid in your world? How do people argue about this distinction?

Now, think about the second part: What stories do people tell about creation in your world?

How do people explain the creation of the world?Are there competing theories about how it all began? Which ideas will your characters embrace? Which will they deny?

Are there immortals who remember the beginning? How accurate is that recollection (and do they share that knowledge with others)? Will those beings be around for the end of the world, like the robots in AI?

Has the truth of creation been altered in some ways? How? Why? By whom? How does this difference affect the story you will tell in that world?

How much is known by the average person in the world about the creation of the world? Is this knowledge protected or is it shared? How do people share this information (Giver-style or oral culture or what)?

Where would someone go to find creation stories? Are they written down and stored in a library or shared freely among the people? Who is permitted to learn the truth and who is not? Why?

Mythmaking will be the foundation of your world, but it doesn’t need to be the first thing you decide. Let your creative inspiration wander from topic to topic as you wish! Don’t box yourself into getting all of this information carved in stone from the start. One of the great things about being an author is the ability to shift things as you need–creation stories can change as your story develops. You don’t need to know everything from the start. That said, you should have some inkling of these answers somewhere in the back of your mind. Stories that take place in worlds with solid backgrounds, even if those details aren’t known by readers, tend to satisfy in a way that others do not. Readers can sense a solid foundation beneath the plot, details available should the need arise to start digging. 

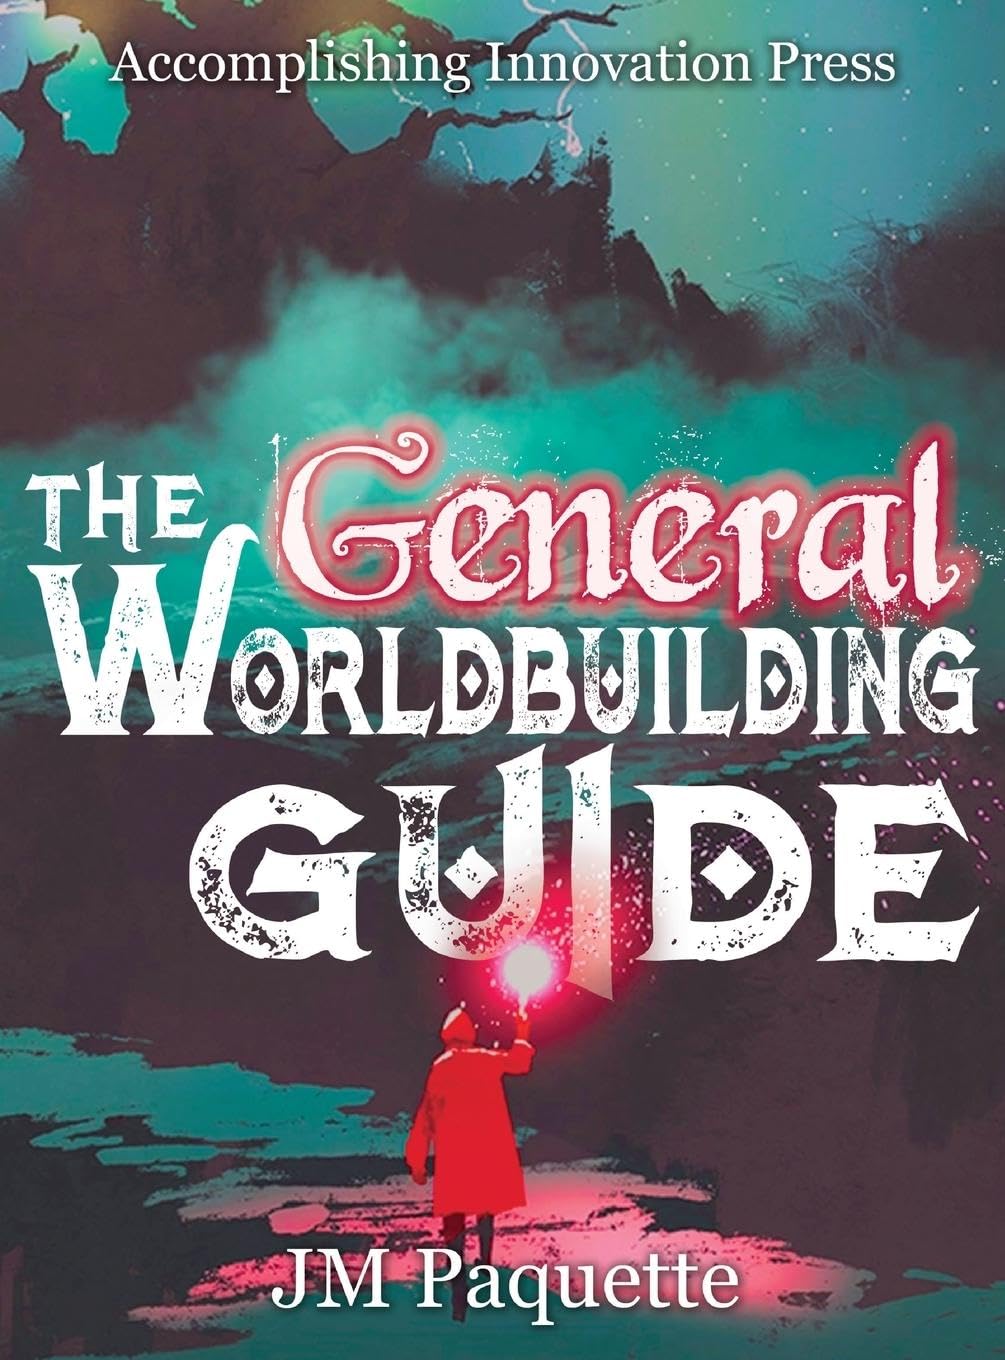
Shameless Self-Promotion Time: Did you enjoy these kinds of questions? Check out more in The General Worldbuilding Guide, available wherever books are sold!

Posted on

From the Author’s Desk: Worldbuilding 101

Part Two: How can I create a cohesive world for my readers?

Okay, now you have an idea for the world of your story. It’s time to get into it. 

Here’s a quick list to keep in mind when building your world:

  1. Organization is key. Decide right now how you will be keeping track of these details. Use whatever makes sense to you. Some people use handwritten notebooks. Some use a detailed Word oc. Some use writing programs designed to organize your details. Find a system that you like and commit to it (at least for this world–you can change it up for the next world if you want). 
  1. There is not a predetermined order to building your world (unless you want it that way!). You can move from building the map to deciding the fashion to creating the calendar, then focus on how medicine works and hop back to wars in your world. Record the details as they come to you. There is no pre-recorded method that you must follow.
  1. Worldbuilding may seem like homework for you as a writer, but you are not obligated to answer every single detail. Think of it as documenting the way you weave the story you are creating. Focus on the areas that make sense for your story and your world. If you know the next scene is in a bar, take some time to think about that place: Who owns this bar? How did they get it? How successful is it?  How is it laid out? Who else is in there (workers/patrons)?  What’s the entertainment? What’s the top things people order? What’s the vibe? And finally, how does any of that relate to your story? This should be a fun part of the creative process. Feel free to skip around.
  1. I know you’re excited that you know every single ruler for the last five hundred years of a dynasty, but do your readers need to know all of that right now? Probably not. Recall the iceberg effect: you are aware of everything under the water, but the story you are telling might just be the tip. When you add these details to your story, be sure to slide them in as a natural addition to the scene rather than as an info-dump. A good rule of thumb is to hint at it, be confident that you know the names (maybe have a mnemonic song to get the order right like the British have for their monarchs over the years) but let that background info seep into the story in the right place and the right time.
  1. Writing is work and can be hard at times, but it should also be fun. If you’d rather be writing the story itself, then do that instead! Just remember that worldbuilding is here when you’re ready to build more of the scaffolding that will hold your story up. Keep your guide next to you and pop information into it as your story is flowing.
  1. Again have fun! You aren’t graded on this; well, except the fan who will excitedly email you about that tiny detail that shifted from book one to book seven…YOU’VE GOT THIS!

Shameless Self Promotion: The General Worldbuilding Guide

Posted on

Anatomy of a Book – What Goes Inside?

If you haven’t discovered Writer’s Bane: Formatting 101, you’ve been missing out on a lot of answers to questions. This includes what goes inside your book, how to prepare a manuscript for a typeset, and how to design the interior of your book. Let me share a sampling of one common question I get in workshops and email: 

What else do I put inside my book?

Front Matter

Before a reader gets to the first chapter there are several key pages that need to be there first. This also can impact how professional looking your book is seen to book store chains and should be overlooked. For example, everyone should be doing a half title and full title page, followed by a proper copyright page. These three pages can add a space to sign and a feeling of legitimacy to your book. Inside Formatting 101 I dive into great detail and give several examples of what these pages look like, their purpose, and an author’s reason for using one or how to use them to your advantage. In short, here’s a list of pages (in a recommended hierarchy) that can be added as roman numeral pages before chapter 1, page 1 unfolds:

  1. Half Title page – this general just has the title, subtitle, and often matches the title font from the front cover.
  2. Full Title page – this should have title, subtitle, series, author, and publisher logo.
  3. Copyright page – Title, Author, Copyright date, publisher information, design and editorial credits, legal jargon, Library of Congress Control Number (LCCN), and International Standard Book Number (ISBN) for all formats. Take a look at many books for examples.
  4. Dedication – Short and sweet. Often centered on a page or in children’s books seen above copyrights on the same page!
  5. Endorsement – Sometimes I see this before the half title page or even before the dedication. I recommend it here since it comes off cleaner and less jarring for readers.
  6. Table of Contents – You want to place this here as a dividing line between actual reader content and the formalities and legal aspects of what is listed above it.
  7. Foreword – Any words that need to come before read this book. Whether you are preparing the reader or having someone comment on the book. It’s often encouraged to email and ask for a foreword about the author or book from other authors or professionals that write or enjoy what your book is about. Even celebrities do this!
  8. Words from the Author – A more author centric foreword.
  9. About the Author – This is here for nonfiction books. Often readers want to know who the expert on the topic is before reading further on a topic. 
  10. Acknowledgements – These can go here or in the back matter.
  11. Preface – More common in nonfiction. This is often a statement of some kind on the topic to encourage readers or share something about the book. Often this can reference the fact of acknowledging a school of thought or piece of history that was not included and the reasoning behind it or where to discover more on the topics within.
  12. Prologue – More common in fiction. This is an event that the readers should experience that influences the story or shares vital information. Whether its past events that created magic to a girl witnessing something through a keyhole that will impact the plot. It should have a direct connection to the character or plot in some way.
  13. Introduction or Overview – Seen in nonfiction, this is gearing up what the book is about or what they should be learning as they travel through the content. Sometimes this may even have instructions of some kind on how to use the book.

Content

This should always start as chapter 1 or section 1 on a right page with PAGE 1. It seems strange, but many programs including InDesign force typesetters to follow this rule. In short, this is not up for discussion as far as the publishing and design industries are concerned. Be mindful of what pages fall between your front matter and back matter. This includes:

  1. Section page – Traditionally on the right or odd page. 
  2. Chapter page – First one starts traditionally on the right or odd page. All consecutive chapter pages can fall on either side or only on the right page depending on the amount of content or designers preference. More and more books will land these on right and left pages to save on page count and lower print costs.
  3. Body page – These are the pages that hold the rest of the story. They often have the page numbers on the bottom center or outer margins, content justified and uniform across the page, and headers and/or footers. These often will have the title, subtitle, author, chapter, or subchapter information depending on type of book and designer’s preference.

Back Matter

This is very much like the front matter, but items you would prefer them to read and explore after your story. If you are working on nonfiction, this is often where to find more resources, referenced materials, and even tools for applying what the reader has learned or even fill in gaps that may be needed. For example, in Formatting 101 I’ve added a large glossary in hopes of catching any moment where a term is used that may be industry or design specific to make the content more widely understood to even those exploring book formatting and publishing for the first time.

  1. Epilogue – This is seen in fiction work where we get to see what transpired after the events. It can often feature showing the characters happy ending in greater detail, the rise of something more happening in the series, or even showing events from another POV for this one chapter only to reveal something more about the story. Again, it should impact the reader via their connection to the character or plot.
  2. About the Author – Unlike nonfiction, it is more traditional to see this placed here in fiction work. Be sure to include your social media!
  3. Acknowledgements – If you have one that is more than 1-2 pages long, you may want to place this here in the back of the book.
  4. Book Listing – Recommending other books you or similar authors in your network can be helpful.
  5. Preview or Sneak Peek – It’s not uncommon in romance novels to see the first chapter or snapshot of what the next book will be about. This can be handy for any genre to showcase that this is part of a series.
  6. Bibliography or References – Often seen in nonfiction as a means to cite sources.
  7. Endnotes – Many folks still use endnotes, but I do encourage you to consider footnotes since this works favorably for eBook readers as well as the only kind accepted by KDP/Amazon and other vendors.
  8. Index – Again, indexes are being replaced with the ability to have searchable ebooks and PDFs or digital copies of books. They are still very much curated content and take lots of time to prepare, but a personal preference in today’s world.
  9. Appendix – Content or worksheets. Materials you either referenced or provided, including excerpts of public domain material, is often seen in nonfiction. Fiction usually saves this for fun extras, coloring pages, and even the occasional recipe.
  10. Book Club Questions – Librarians love them and book clubs live for them. Don’t underestimate the power of providing these. There shouldn’t be a clear answer. I always tell fellow author’s pretend this is a chance to start your very own fight club!

Discover More

Like the advice and information you see here? Check out the Formatting 101 textbook here. This tome holds a variety of answers for those seeking to become typesetters, looking to self-publish their book, or simply want to learn how to communicate and prepare their manuscripts to get the most out of their designers. The Writer’s Bane is a curse and passion, both a want and need to tell a story. In this volume, you will learn the importance for prepping a book for layout as well as laying it out in a way that appeals to your readers of any genre including picture books, chapter books, fiction, memoirs, textbooks, workbooks, and everything in-between.

Posted on

From the Author’s Desk: Worldbuilding 101

Part One: What is worldbuilding?

Okay, let’s get into it with some generalizations. 

Worldbuilding is what creative writers do when they form the framework that contains their story. It includes everything from the layout of the furniture in someone’s bedroom and the geography of the city they live in, to the languages spoken by their fellow inhabitants and the technological capabilities of the society that surrounds them. It’s the details that bring a story to life–the thing that separates a decent tale from a life-changing epic adventure that every single one of the reader’s friends must read immediately. It gives a story depth and richness and the sense that there is more beyond the page, that readers could find a pulsing, vibrant existence beyond the edges of the pages they are reading. 

J.R.R. Tolkien explains the “magic” of reading in his essay “On Fairy Stories” when he likens what happens to readers who imagine a story to an act of enchantment. The author has written the words, but the readers are ones who transform those markings on a page into scenes in their imaginations. He calls this enchantment an act of subcreation; that is, the readers are “creating” the story for themselves based on the words of the author. This can only happen, he insists, when the world of the story they are reading is believable; in fact, the Secondary World (the world inside the story) must be as believable as the Primary World in which the readers live. A common way to describe what happens when readers engage in this act is the “willing suspension of disbelief.” The idea is that reader willingly suspend their natural disbelief when they enter a story–they know billionaires don’t act like that, or that swords aren’t sentient, or that cars can’t fly, or that word can’t alter the physical world–but for the sake of the story, they “suspend” that “disbelief” long enough to enjoy the story in that world. Tolkien doesn’t like this approach, insisting that if the world is done properly, if the nearly elvish craft of enchantment has been done well, the readers won’t have to suspend their disbelief–they will believe. Fr the time they spend immersed in the pages of that story, they will fall into that world naturally and completely. 

How does one accomplish that? According to Tolkien, by having a completely built world in the background of your story. You should know every detail, every crevice, every whisper. That said, Tolkien had reams of journals and maps and lineages and histories for Middle Earth. Do you have to do all that? Of course not. But it should look like you have. After all, unless they read your worldbuilding guide, readers don’t see your entire world anyway–they just see the parts that connect to the story you are telling–but they should believe that the rest of the world is there, the ice beneath the tip of the iceberg hidden beneath the water. If you are confident and consistent in your details, that iceberg will feel massive to readers.  

So, how can you provide this magical transformative experience for your readers? Do your homework. Build your world before you step into it (or before you finish stepping out of it on that last page!) so readers feel the world lives beyond the moments they see in the story.

Looking for some help along the way? Check out The General Guide to Worldbuilding and get serious about your world!

Posted on

Writing is HARD! – You Are Not Alone

If I had a dollar for every person who approached me and said “I want to write a book” or “I’m writing a book” and then years later nothing came from it, I would have a nice new car.

You might think I am exaggerating but the truth is that very few people who want to write a book actually end up doing so. 

There are several reasons for this, but one I want to touch on today is that writing can appear to be a VERY lonely activity. It is true for the most part that most writers, including myself, do best in certain circumstances to write. I work best from my desktop PC, in my office with Viking music playing. 

Writing is also one of the easiest things in your life to set aside as it is a hobby for most and not something like a puzzle that is staring you in the face or a gym membership that is charging you every month so you are reminded that it is waiting for you.

There is a widely held belief that it takes six weeks to form a habit. What you need to do if you want to write a book is form a habit. With that said, there is a universal formula as a writer to actually get the book done. Want to know what it is?

YOU NEED TO WRITE!

I know that may seem silly but the truth is that the only way you will complete a book or story is to put the words on the page. This means you have to schedule some time to write and stick to this schedule. This alone can be a monumental task. I understand as I wrestle with this all the time.

This is why we created the Author’s Accountability Guide. It is a guidebook to help you create your goals, your schedule and actually track your progress.

It has helpful Muse’s to assist on your journey and we also created a Facebook group so you can connect with other authors and join a community of people just like you who are writers and simply need to get their stories completed and out into the world!

To start you on your journey use the coupon code: 4HP10 and order the book from us directly here:

Join our Facebook group and find others just like you!

https://www.facebook.com/groups/2763678010528954

Posted on

Is There Hope for the Little Guy?

I started my publishing journey in 2020. I wanted to create a publishing company that was different. I am not alone in this idea. As an author myself, I saw how hard, and I would actually say impossible, it was for some authors to get their book published.

I could write a book on what is wrong in the publishing industry as far as the large traditional publishers go, but most of us know the horror stories and have some scars ourselves.

I branded my company 4 Horsemen Publications because I wanted to be part of Bringing the Publishing Apocalypse to our industry. Things need to change and I know that every independent publishing company and independent author are making that change happen.

Yesterday, a news item was shared with me about the sudden closure of Small Press Distribution. You can see the article from NPR here: https://www.npr.org/2024/04/08/1243433868/authors-scramble-after-the-main-distributor-for-small-publishers-suddenly-closed

Reading it made my heart sink. I know first hand what this can mean for a publishing company of any size. 

After almost five years in this industry, I can tell you that anyone who joins it to “get rich” will become disillusioned very quickly. Publishing is hard work. It is not only creating the content, but being a stable person in your author’s lives. They will need a sounding board or simply someone to vent to. It is learning how to find readers and training your authors to do the same. It is understanding how books are created, listed, and found on retail sites and elsewhere. Again, I have literally written the books on some of these points.

However, what I have seen more than anything is that there are deals with the publishing “devils” that you have to make in order to succeed. Our fates as publishers are in the hands of a few companies like Small Press Distributors in order to get the books that have had blood, sweat and tears poured into them into stores and the hands of readers. Do I have a large printing press and am I printing my own books? Nope. I can’t. There is not only the cost to get and maintain these machines, but the space to keep them and the supplies to run them. How do we then distribute these books? Having a warehouse of amazing award-winning titles does not mean you snap your fingers and they are listed on all the sites you need them to be.

So what are our options? There are a few::

  1. Find a printer, get your books printed, warehouse them, and then find a distributor. 
  2. List your books only on sites like Amazon, B&N, and Kobo, to name a few, that will allow you to upload your print books (however, be prepared to buy ISBNs for every version unless you want that company listed as the publisher).
  3. Find a distributor like Ingram who will print your books on demand (POD) and allow you to distribute them to all the major retailers for a cut of your profits.

It is very hard—as the owner of a company—to have something so vital to the survival of your business in the hands of other entities.

How do you overcome this?

I am seeing that more publishers are finding creative ways to sell via their websites and allowing the authors to sell on their own websites. copies of the books being able to be printed from some of the sources listed above.

You can also work with book printers to create “Special Edition Copies” of books in a smaller print run. There are what are referred to as Mom and Pop printers that would love to help you make your books amazing. BookTokers and Bookstagramers love these and so do the fans.

I will say that we, as a community of independent publishers, need to work together to form better solutions to make sure what happened with Small Press Distribution does not continue to happen.We must find new and creative ways to thrive so that we can get our author’s voices and stories out to readers that are hungry for them.

Let’s start a dialogue together on how we change this machine, so to speak, to redefine how we are able to succeed.

Posted on

From the Editor’s Desk: How to Format Dialogue so It Doesn’t Annoy Readers

I know that you know this already, but something weird happens to authors when they write their own stories—they suddenly stop following any kind of formatting rules around conversations and just start throwing words and punctuation around like darts in a whirlwind. Writers, you know what dialogue in a novel should look like—I know you do. You’re readers. You’ve all seen this format hundreds of times. But I also know that there is a strange disconnect between seeing how something looks on the page when someone else—a famous author perhaps—does it and applying those same expectations to your own work. 

First, let’s talk about why this happens and then get into some guidelines to keep in mind when you are writing dialogue. Sometimes, this disregard for the rules happens for the simplest reason: writers assume someone else will clean up their messy words and formatting. “My editor will fix it for me.” After all, the author is the cook—she need not clean the kitchen as well. Maybe so. But cleaning up after your own words will remind you of the rules—how things ought to look—and you will be a stronger writer as a result. Yes, your editor can clean it up for you, but that person will do so at the expense of everything else, spending valuable time adding commas and lowercasing words instead of getting into the real work of editing. You are essentially paying someone a lot of money to do a menial task when that money could be paying for expert attention on other matters that would make your story better—not just bring it up to code. 

Another reason formatting may get wonky is because writers promise they will go back and fix it later—and then don’t actually go back and fix it. I know how it is. We writers may be a forgetful lot. We focus on other things, get sidetracked by other stories, fascinating characters yearning to break free, and we move on to the next one, never actually going back in and checking the capitalization in chapter two. Now, I know you love re-reading your stories. You wouldn’t have written it if you didn’t enjoy reading it (unless you’re writing to market or ghostwriting or something like that, but this blog isn’t for you, specifically). Read it again—except this time pay attention to your dialogue and tweak any remaining issues. 

This brings us to another reason for messy dialogue format: you’re just not sure. And that’s okay! Just ask. Or review the guidelines listed below. 

How to properly format dialogue in novel writing

  • Every time a new person speaks, indent on a new line: 

“What are you doing?” Samantha asked. 

“Rearranging matches,” Sebastian said, boredom seeping through his voice.  

“Why?” Samantha inquired. 

“I have no idea,” Sebastian admitted. 

  •  When a character speaks both before and after an interjection, the punctuation should follow like this:

“You never have any idea,” Samantha sneered. “That’s why I’m leaving you.” 

“You can’t leave me,” Sebastian replied, “because if you do, who will organize your things?” 

  • If there is more text beyond the conversation, it can stay in the same paragraph:

Samantha glared at him. “I don’t need anyone to organize my things,” she snapped. “I was just fine in my organizational skills before you came along. I don’t need someone to look after me like a child.” She scanned the library, haughty eyes taking in other annoying details of his obsessive behavior. 

“Huh,” Sebastian scoffed. “You couldn’t tell that from where I was standing, dear.” He turned away from his latest project to stare at her. As usual, her clothes were in disarray, her wrinkled pants and untucked shirt almost screaming her need for his guidance. “Come here, Sam. You look a mess.” 

“You could use a good mess!” Samantha shouted, stalking out of the library. 

  • All periods, commas, question marks, and exclamation points go inside the quotation marks.
  • You should never put “double” “quotation” “marks” next to one another unless you are making a list of quoted items—otherwise, “double quotation marks” is sufficient. 

As I recall, you told me, “I am busy,” “I have plans,” and finally, “I am dead. Please leave a message” the last time we talked about this.  

Review the Rules

  1. If you start a sentence with dialogue, capitalize the first letter of the spoken words but leave the rest in lowercase (except proper names). Put a comma at the end of the spoken words (inside the quotation marks) if it’s not a question or exclamation point. 

“I don’t know why you do this to me,” Sebastian pondered. He stared at the books lining the walls, face blank while his thoughts raced. “It’s only matches,” he whispered. 

  1. If you start with the tag (the “he said” part of the sentence), you should start the actual spoken words with a capital letter. Put a comma (if it’s not a question/exclamation) after the verb and before the first quotation mark.

Sebastian said, “She’ll be back.”

  1. If you interrupt a complete sentence with a tag, do not capitalize the words after the tag. If you have two separate sentences with a tag ending the first one, capitalize the second sentence.  

“I know she will forgive me,” he moaned, “eventually.” He glanced at the door, suddenly sure he heard her returning footsteps. “She’s coming back,” he whispered. “I know it.”

  1. If the spoken words are not a statement, put the question mark or exclamation point inside the quotation mark (as long as the spoken words are a question/exclamation). If the entire sentence is a question or exclamation, then put the marks outside the quotation mark. 

“Why do I put up with him?” she wondered, staring down the long hallway. “He’s such a jerk!” she snapped, hands fisting at her sides. “Those matches,” she mused, shaking her head, “make me absolutely crazy.” How dare he say she looked “a mess”? “It’s only matches” indeed!

  1. Unspoken thoughts should be italicized to distinguish them from spoken words. Consider having tags like “he thought” or “she wondered” so listeners to your audiobook can tell which parts are spoken aloud and which ones are internal thoughts. You don’t need it every single time, but for important moments, it can make things clearer to your listeners. 

Just one more box, Sebastian thought, emptying the matches onto the table

  1. Only spoken words go inside quotation marks—not reported speech. 

I remember when she told me she was leaving me, Sebastian thought, lips pursing as he began lining up the matchsticks. Perhaps I shouldn’t have said, “You look a mess”?

  1. When quoting someone else’s words inside a quote, use single quotes. 

“But why would he say ‘You look a mess’ to me like that?” she wondered, glancing down at her clothing. “I guess I should be glad he didn’t say ‘You look a “hot” mess’ after all.”

  1. If your character speaks for more than one paragraph (telling a story), don’t use end quotation marks until the character finishes speaking. This means you will not put quotation marks at the end and beginning of each new paragraph. 

That’s it! While we’re here, a few things to avoid when dealing with dialogue:

  1. Do not capitalize the word after the quote unless it’s a proper name: “Don’t do it like this,” She said. (“Do it like this,” she said.)
  2. Do not put periods between the quote and the speaker: “Don’t do this.” She added.  (“Do this instead,” she added). 
  3. Don’t use tag words that don’t actually signify speech: “This is so amazingly funny,” he laughed. Did he laugh those words? No. He laughed after he said those words. “This is so amazingly funny!” He laughed. (I added the exclamation point because he’s probably excited about whatever is so funny, but you could leave the period.) I keep seeing characters who shrug, chuckle, smile, and grin words (and that’s just creepy sometimes). Add the period and separate the words from the action. 

I hope this has helped shed some light on how to properly format your dialogue to save both your readers and your editor’s sanity!

Posted on

5 Call to Actions to Include in Your Book

Keeping the reader engaged once they hit the end of the story can prove difficult. They came, they saw, they read, and now they are hunting for the next read. Adding value or some means of continuing to sell or hold the reader’s attention after they’ve finished “using” or “reading” your product is a daunting task. Especially since so many of them have TBR, To Be Read, list as tall as they are. What could you possibly do or say at the end of the book that would result in further action from them?

What is a Call to Action?

A call to action is a marketing term for inviting your audience to take the next step. This comes in many forms from links, to recommendations, to selling more books or other products. Depending on the author, you’ve seen this from joining a newsletter to checking out the next book in the series. Regardless, this should be easy, hyperlinked, and straight forward. Providing scannable codes and images can go a long way to encourage immediate follow through. Convenience is your friend! Also be mindful to use strong verbs to prompt a sense of urgency and to take action!

They don’t necessarily need to sell anything at all, but there should be some means of securing one of the following intent:

  1. A means to continue to reach or engage with the reader.
  2. Add value to the book or invite a means to keep reading.
  3. Gain something in return in the form of reviews or similar interactions.
  4. Access social media and websites to increase foot traffic and followers.
  5. Invite them to read and buy other books or more books within the series.

Top 5 Recommended Call to Action for Books

  1. Join my newsletter for behind-the-scenes and updates.

Having them join your newsletter is vital and should be the initial aim for any author. Once you have them on your list, you can continue to engage with them one-on-one. This includes the ability to continually provide a variety of calls to action such as attending live events, vote of book awards, reminders to leave a review and provide exact link to where you wish them, and so much more. It has been proven time and time again that this is the best means for review and preorders on new releases with 10-12% of your subscribers guaranteed to follow through. In short, out of about 100 subscribers, you have the potential to gain roughly 10 reviews and/or sales on the next release!

  1. Book Club Questions to aid libraries and book clubs.

Invite them to include your book as part of a book club! Including questions in the back of your book often provides a means for libraries and club managers to choose your book over many others. On top of that, providing a means for them to contact you for events or to attend their club meeting, special pricing for bulk orders, or even a link to getting signature plates here can add a more personal touch. On top of that, book club questions can often spark the reader to re-read your book with some of the questions in mind and provide a new reading experience. Check out our blog on creating book club questions: https://4horsemenpublications.com/a-handy-guide-to-book-club-questions/ 

  1. Invite them to leave a review.

It’s completely ok to remind readers and encourage them to voluntarily leave a review on their preferred book sites. Even when you send a newsletter using this Call of Action, you will be pleasantly surprised how many new reviews and replies from excited readers come pouring in. Beware of providing direct links to specific retailers, this could cause ebooks and paperbacks to be pulled down. For example, Amazon will unpublish a book that has URLs that aren’t Author specific or Amazon link. A great work around for this is using your author domain, Book2Read, or even LinkTree to limit being flagged.

  1. Follow me on social media.

Again, it’s always a good idea to make sure the reader can connect to you directly. Branding and consistency in how you are posting on social media can keep readers engaged between writing books. It also means you can share the things that inspire you or even cross promote with fellow authors to keep them coming back and being fed the content and stories they enjoy the most. Again, be sure to use the same handle across the board, utilize LinkTree or a website domain to make it convenient for readers to link and follow you via their preferred social media. Not every book genre works on every social media platform, so pay attention to where you readers are coming from!

  1. Next book and a sample.

Lastly, give your readers a sense of security. Let them see the next book in series or a story by you is in the works, or even done. Give them 1-3 chapters of that book and convenient links as to where to go to find it. Again, be cautious not to use direct links from product pages at actual stores such as Amazon, BN, Target, etc. Instead, use this as a chance and teaser to pull in a double Call for Action by combining this with social media and newsletter links. These are ways to continue to reach the reader beyond the initial action of “buying the new/next book” and instead, gives you a chance (and the reader’s permission) to share your author journey, events, books, reviews, and more.

Last Thoughts

Be creative! Call to Actions come in different formats and there are an amazing variety of articles on how other industries and marketing teams slip them in. Those emails where sections and eye-catching statements have been hyperlinked is another variety. You can think of these as textual precursors to what social media does now, with “link in bio” or even a “click here to watch more” great examples. 

Don’t be afraid to get adventurous. These can be blanket statements and should have the punch of those elevator pitches you’ve been playing with for agents. Don’t be afraid to express things about the characters, yourself as the author, or invite them to get something from you through your newsletter. 

Click here if you like broody, angsty demons that are legendary!

Mythology, Romance, and all the angst! Oh my! Check out author Valerie Willis.

Want to know the secrets behind the history and lore of the Cedric Series? Click here.

Posted on

You’re an Author … and a Celebrity!

Imposter syndrome is often the battle we face throughout our careers as authors, and the definition of success is a gray area that has no hard lines drawn. You’re not an imposter. You are now officially considered and dubbed a “Public Figure” in the public’s eye! Taking a step back, let’s first talk about the fact that once you decide to cross the line of writer to published author (Self-pub, small press, big publisher, etc.), you’ve officially become a celebrity, or in more legal terms, a public figure. 

WHAT? A public figure? Who, me?

That’s right. The moment you decide to become accessible to the public and engage with selling your work in one way or another, you fall under this category, and there’s some legal ramifications. Your rights, the way lawyers and courts handle your involvement, and even how you fall in the hierarchy of society shifts. In doing so, you need to be diligent to establish and lock in your public presence, pulling much of it under your control. Let’s break this down!

Legality of a Public Figure

In the US, the definition and first impact on who and how a public figure is defined was first set during the New York Times Co. v. Sullivan case in the United States Supreme Court in 1964. The decision of you passing into the realm of a public figure can happen in several ways. It’s been defined as a person who has reached some level of fame, prominence, or notoriety within society through luck, achievement, action, or even through no purposeful action at all! 

Yes, that’s right. You can accidentally and unknowingly become one! WHAT! In any case, action and achievement are the more important ones here that cause the main event for us authors. The moment you publish a book and achieve public awareness, this new challenge starts. Here’s some things that can be startlin. Even if you aren’t selling more than a few books a month, these can still impact you as an author or public figure:

  • Defamation and slander will be harder to fight without obvious proof of actual malice.
  • What you say can be held against you more so than any other time.
  • You have a responsibility to the public.
  • If there is a large enough presence and history, you can use public figure status as another proof of Identification for Notaries.

Establishing Your Public Figure Status

Marketing is the bane of any author, but this coincides with the ability to build stronger roots for your presence as a public figure. Being in control of your identity is vital, and there are several things you can do to secure your public image. Be sure to be consistent in biographies. Keep things up to date and use consistent branding, colors, images, covers, content, and more. You are the entrepreneur, and your books are your product, so commercialize how you present yourself. This helps with being able to prove and disprove your content and public figure status. We recommend establishing the following items if they are applicable to your individual journey:

  • Lock in a website and domain name
  • Copyright your books in your name, LLC, or Alias
  • Register you pen names as a company or alias 
  • Pull and own your own ISBN (self-publishers especially!)
  • Social Media accounts and presence (same naming pattern is a must!)
  • Wikipedia author page
  • BookBub author page
  • Amazon author page
  • Goodread author page
  • Register yourself as a business on Google Business and similar sites
  • Wikipedia book page(s)
  • Anywhere you can add yourself as an author and professional!

Imposter Syndrome

We’ve interviewed HUNDREDS of authors, and it doesn’t take long to realize we all suffer from Imposter Syndrome. You know–that gut-wrenching sensation that we’re not a “real” author and make us wonder why are we even bothering to keep this “sham” going as a so-called “author.” Sound familiar? STOP IT. These negative insecurities happen even to successful authors such as Stephen King and Jonathan Maberry, and it can be mind blowing. When we struggle to write, to sell, to do events, to do anything under the umbrella of being an author, we tend to doubt ourselves. But you became a public figure the moment that book hit the hands of the public or was posted within access to them. You’re there. Check out our article on how to deal with imposter syndrome here!

Growing Your Public Figure Presence

Now we’re back to your current presence. You’ve barely sold a book, so you may wonder why any of this matters… STOP IT! You’re amazing, and you’ve done something many haven’t–put a piece of yourself out into the world in the hands of the public. CELEBRATE. You’re a public figure, and you shouldn’t be afraid to ask! Venture out of your comfort zone to make it known not only in your network, but in circles and places you wish to be part of. How? Start growing your presence by:

  • Attend events by getting an artist alley or vendor table
  • Participate in panels
  • Teach workshops
  • Introduce yourself to book clubs, libraries, and schools
  • Send copies of your book to podcasts, influencers, book reviewers, and others involved in your circles who have proven status as public figures themselves
  • Participate in interviews
  • Create press releases
  • Introduce yourself to brick-and-mortar bookstores using sell sheets or one sheets
  • Create media kit or press kit for journalists

Remember: you’re a big deal now! You may not feel this, but you have the power to grow and make your presence known!